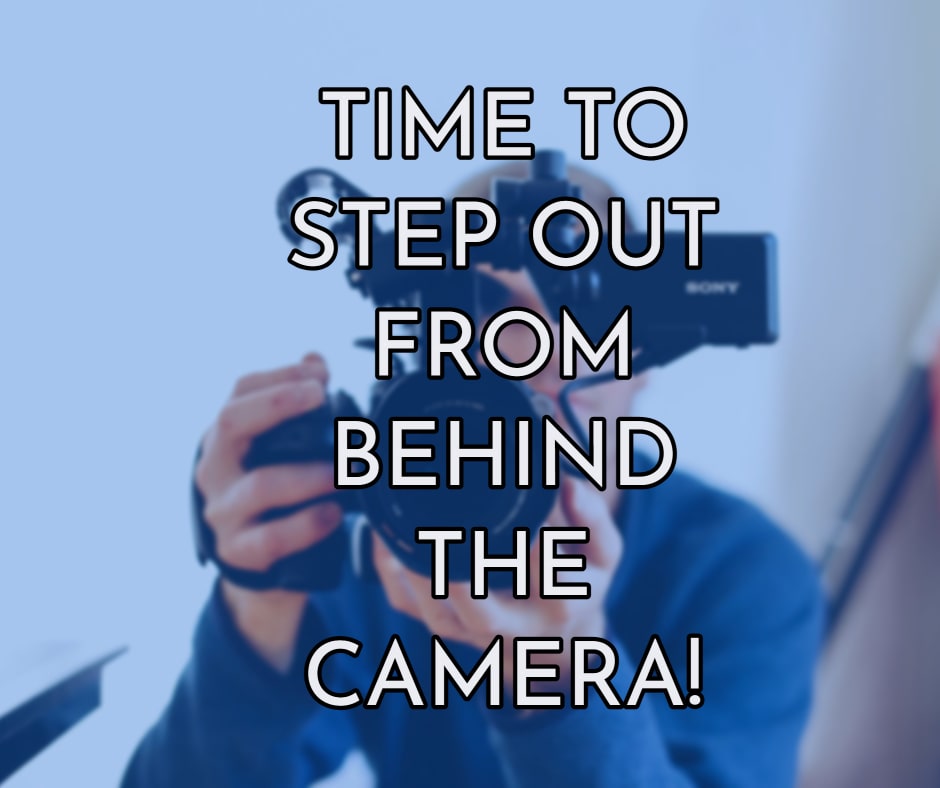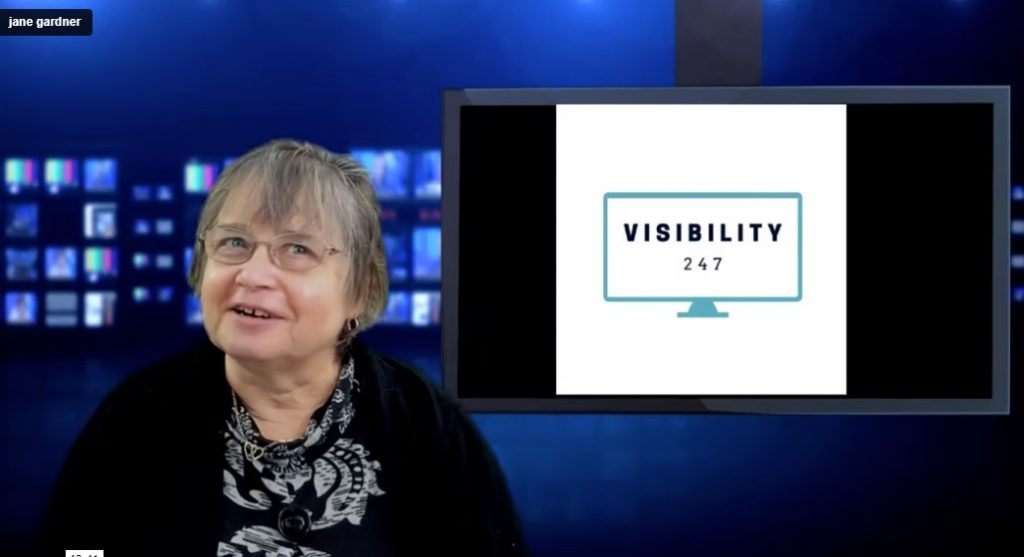
Repurpose Your Livestreams

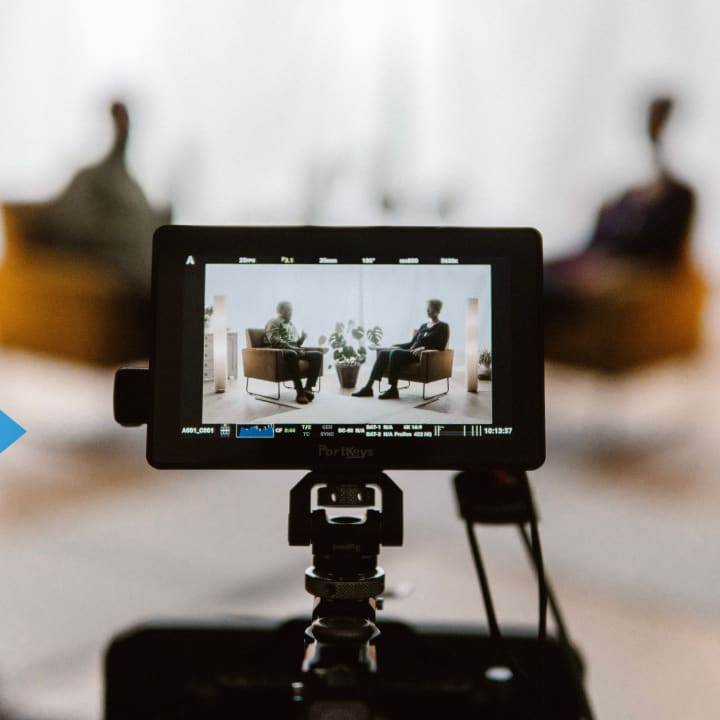
Have you ever wrapped up a livestream and thought, “That’s it? All that prep and now it’s just buried on my feed?” I get it—I used to feel the same way! The good news is, your livestreams are far from done once you hit ‘end’—they’re the start of a whole new wave of content that keeps you visible and connects with your audience wherever they are.
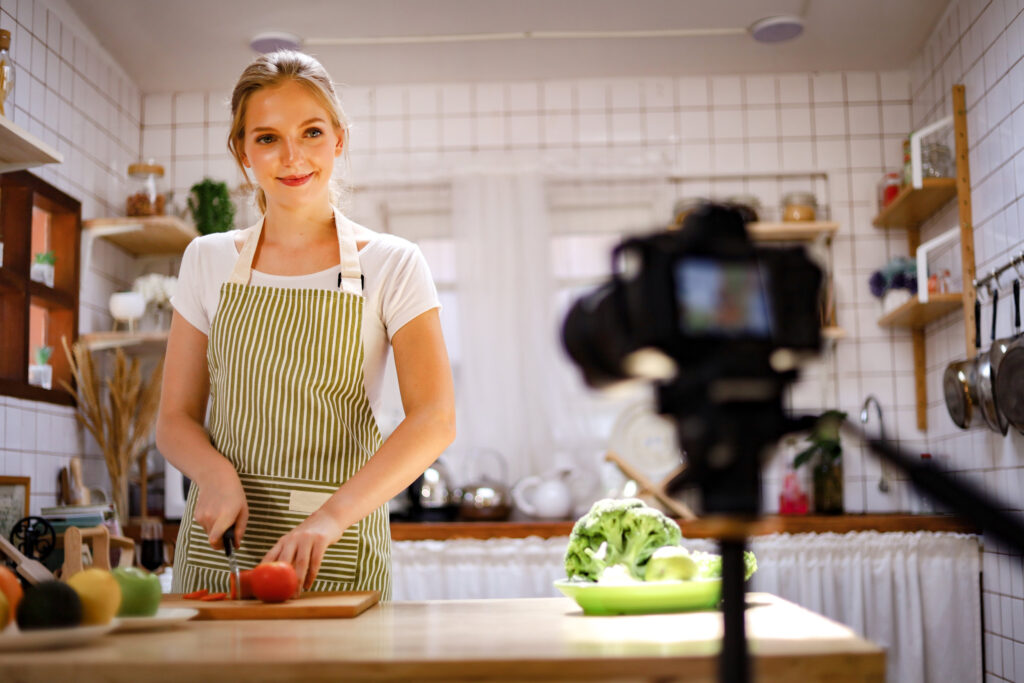
If you want to save time, get more eyes on your work, and make your show easy to share, let’s talk about slicing up your livestreams into bite-sized pieces for social media. You can grab my 7 Steps to Produce your First Show to see how it all fits together. For now, here are a few ways to make your livestream work as hard as you do:
- Pick out punchy moments: Finished your broadcast? Jot down time stamps or notes on the funniest, most insightful, or surprising moments. These are perfect for Instagram Reels, TikTok clips, or even LinkedIn highlights in under a minute.
- Grab the golden quotes: Did something you said feel extra shareable? Turn your tips or guest soundbites into branded quote images using Canva. Post these throughout the week as reminders of your episode’s value.
- Write a quick recap: For every show, jot a concise summary or "top 3 takeaways" and share it as a LinkedIn post, a blog, or right in your next email. People love skimmable value!
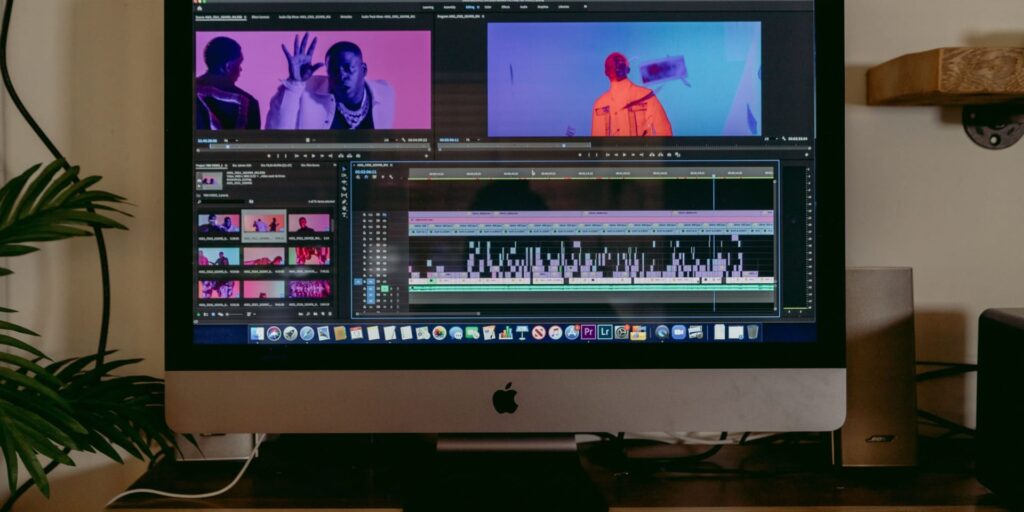
- Turn video into audio: Not everyone watches video but lots listen on the go. Extract your livestream audio for short podcast episodes or audio tweets. Tools like Descript make this fast even if you’re new to editing.
- Build a bingeable content vault: Group your best short clips by topic into a resources page, playlist, or simple Notion board. Send new followers there so they can discover your greatest hits.
Honestly, every time you livestream, you’re not only showing up live—you’re building a content library that keeps working long after you log off. Short clips grab attention on busy feeds, recaps boost your authority, and quote graphics start conversations all over again.
If you want your livestream journey to feel less overwhelming (and a lot more strategic), my 7 Steps to Produce your First Show is packed with straightforward advice, checklists, and encouragement so you can plan, go live, and quickly break down your shows into pieces you’ll be proud to share. It’s designed to help you get visible—without always reinventing the wheel.
Every livestream is a foundation for weeks of easy content. Use it wisely, get noticed, and let your show be seen in all the places your audience hangs out.
Repurpose Your Livestreams Read More »