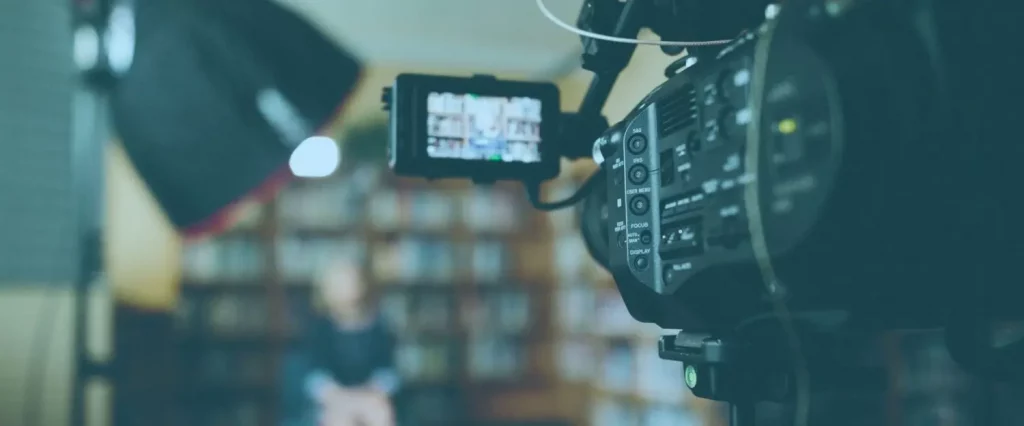
Camera Confidence and You
Talking to a camera feels weird at first. There's no getting around that. You're staring at a piece of glass, talking to nobody, trying to act natural while also remembering what you wanted to say and hoping you don't look ridiculous. It's not a normal way to communicate, and it's completely understandable if it makes you uncomfortable.
But here's what you need to know: everyone feels awkward on camera when they start. It's not just you, and it's not because you're older or less tech-savvy or anything like that.
It's because talking to a camera is an unnatural act, and it takes practice before it starts to feel normal. The good news is it does start to feel normal eventually, and there are things you can do right now to speed up that process.
Content creators sometimes assume they're at a disadvantage here because younger people seem so comfortable on camera. But a lot of that perceived comfort comes from reps.
They've been recording themselves since they were teenagers, so they've had years to get past the awkward phase. You're just starting, which means you're exactly where they were when they began. You'll catch up faster than you think.
Start by Recording Without Posting
One of the biggest mistakes people make is trying to create perfect content right out of the gate. They hit record, feel awkward, mess up their words, and then convince themselves they're just not good at this. But nobody's good at it in the beginning, and you're not supposed to be.
Give yourself permission to record videos that never see the light of day. Hit record, say whatever comes to mind, and then delete it. Do this a few times and you'll start to notice that the awkwardness fades a little with each attempt. You're training yourself to be comfortable with the act of recording, and that's a separate skill from creating actual content.
Think of it like learning to drive. You didn't jump on the highway the first time you got behind the wheel. You practiced in a parking lot where it didn't matter if you messed up. Recording practice videos is the same thing. You're building muscle memory and getting used to the feeling of being on camera without the added pressure of needing it to be perfect.
Content creators can approach this the same way you've approached learning anything else in your life. You didn't expect to be great at something the first time you tried it, whether it was a new job skill, a hobby, or figuring out how to use new technology. This is no different. You're just getting comfortable with a new tool.
Pretend You're Talking to One Specific Person
The weirdest part about talking to a camera is that you're talking to no one. There's no face, no reaction, no feedback. And your brain knows that, which is why it feels so unnatural. But you can trick your brain a little by imagining you're talking to one specific person instead of a faceless audience.
Pick someone you know who would benefit from whatever you're explaining. Maybe it's a friend who's been asking you questions about the topic, or someone in your life who you'd naturally have this conversation with. When you're recording, picture that person sitting right behind the camera and talk to them like they're actually there.
This shifts the whole feeling of what you're doing. Instead of performing for an audience, you're just having a conversation with someone you know. And conversations are something you've been having your whole life. You already know how to do this. You're just doing it while a camera happens to be running.
And here's the thing: people can tell when you're being conversational versus when you're trying to perform. Conversational always feels more genuine and easier to watch. So by imagining you're talking to one person, you're not just making yourself more comfortable. You're also making better content.
Focus on Your Message, Not Your Appearance
A lot of the awkwardness around being on camera comes from worrying about how you look. Are you sitting weird? Is your hair okay? Do you look old? Are people going to judge you? And the more you think about that stuff, the stiffer and more self-conscious you become.
The fix is to shift your focus away from yourself and onto what you're trying to say. Before you hit record, remind yourself why you're making this video. You're teaching something, answering a question, or sharing an idea that could help someone. That's what matters. How you look is secondary.
Content creators sometimes get stuck here because there's this underlying fear that people will judge them for being older or not looking like the typical influencer. But here's what actually happens: if your content is useful and you're clear about what you're teaching, people don't care what you look like. They care about whether you helped them solve a problem or learn something new.
And honestly, a lot of people prefer learning from someone who looks like a real person instead of someone who looks overly polished or filtered. Your age and your appearance can actually work in your favor because you come across as more credible and less like you're trying to sell them something.
Use a Script or Bullet Points
Part of feeling awkward on camera comes from not knowing what to say. You start recording, your mind goes blank, and then you stumble over your words trying to remember what you wanted to talk about. That's fixable by doing a tiny bit of prep before you record.
You don't need a full script unless that's what makes you comfortable. But having a few bullet points written down gives you a roadmap so you're not trying to remember everything in the moment.
Write down your opening line, the main points you want to cover, and your closing thought. That's usually enough to keep you on track without sounding like you're reading from a teleprompter.
If you do want to use a full script, that's fine too. Just read through it a few times before you record so it doesn't sound stiff or robotic. And if you mess up while you're reading, don't worry about it. You can always pause, collect your thoughts, and start that sentence over. Nobody has to see the mistakes because you can edit them out or just do another take.
Content creators who've spent years in professional settings might be used to preparing for presentations or meetings, and you can apply that same skill here. You wouldn't walk into a meeting without knowing what you wanted to say, so don't walk into a recording without a plan either.
Record Multiple Takes and Pick the Best One
You don't have to nail it on the first try. Record the same video two or three times, and then pick whichever one felt the most natural. Often the second or third take is better because you've already said it once, so you're less nervous and more comfortable with the material.
And sometimes just knowing you can do multiple takes takes the pressure off. You're not trying to be perfect in one shot. You're just trying to get one good version out of however many attempts it takes. That's a much easier goal to hit.
This also helps you figure out what works for you. Maybe you realize you're more comfortable standing than sitting, or that you do better when you look slightly off to the side of the camera instead of straight into it. You won't know these things until you experiment a little, and doing multiple takes gives you room to try different approaches.
Keep Showing Up
The single biggest factor in getting comfortable on camera is just doing it repeatedly. The first ten videos will feel awkward. The next ten will feel a little less awkward. By the time you've made 30 or 40 videos, it'll start to feel normal, and you won't even think about it anymore.
Content creators have an advantage here because you've probably done plenty of things in your life that felt uncomfortable at first and then became second nature. You already know that discomfort fades with repetition. This is just one more thing to add to that list.
And the reality is, nobody's watching your early videos as closely as you think they are. People are scrolling fast, they're distracted, and they're focused on whether your content is useful, not whether you looked nervous or said "um" a couple times. So give yourself permission to be a little awkward while you're learning, and trust that it gets easier every single time you do it.
To get tips on how to set up a studio you can opt-in for the "7 Steps to Produce your First Show" e-book and emails.
Camera Confidence and You Read More »